
COLOR & FILE MANAGEMENT
ENSURE ACCURATE COLOR RENDITION AND BRIGHTNESS BY FOLLOWING THESE STEPS IN YOUR PHOTOGRAPHIC WORKFLOW.
File Management
Prepare Your Files for Printing
For the best print quality, save your images as high-quality JPEG files with an embedded RGB color profile.
Color Profile: Export your files using an RGB color profile. sRGB, Adobe RGB, and Display P3 are all supported.
JPEG Quality: Save at Quality 10 or higher in Photoshop, 90% quality in Lightroom, or the highest quality equivalent in your editing software.
Resolution: Most products are printed at 300 PPI. We automatically resize your files to the appropriate print dimensions. If you prefer complete control over sizing and output sharpening, you may resize and sharpen your images before uploading.
Following these guidelines will help ensure your prints look their best.
Images should have a 1/4" bleed, meaning that you should keep all essential aspects of the image at least 1/4" from the edge of the print. We cannot guarantee that text or image will not be lost outside that border.
File Name
Our system does not properly render images that includes punctuation in the file name or images that have file names longer than 24 characters, including .jpg. Please be sure your file names do not include the words "order" or "border". Do not use any characters other than letters, numbers, underscores and hyphens. For example, any of the following characters would need to be removed from file names: (!@#$%^&*.;:'"[]{}\|<>?,+) including blank spaces.
2. Color Settings

-
1. Photoshop Color Settings
Go to Edit → Color Settings.
Set RGB Working Space to sRGB IEC61966-2.1.
⚠️ This sets Photoshop to work in sRGB but does not convert existing images.
Color Management Policies
In the same dialog box, under Color Management Policies:
Set RGB → Convert to Working RGB.
Check all three boxes under Profile Mismatches and Missing Profiles.
✅ This ensures Photoshop warns you when files are not sRGB and offers to convert them.
Assigning Profiles
For individual images that need sRGB:
Go to Edit → Convert to Profile.
Select sRGB IEC61966-2.1.
Click OK.
Save As to overwrite or create a new file.
2. Required Color Space
All files submitted to Color Inc must be in sRGB.
Images not in sRGB may print with incorrect or dull color.
3. Adobe Camera Raw Settings
Adobe Camera Raw (ACR) controls the color space when opening RAW images.
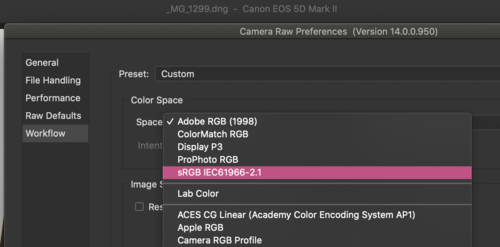
Set ACR to sRGB for consistency.
Remember: the embedded profile always overrides Photoshop’s working space, as modern color management is profile-driven.
4. After Photoshop Updates
Photoshop resets to default Adobe settings after updates. Always recheck your color settings and policies after an update.
5. Where to Double-Check Color Space
To ensure images are properly prepared, verify in these places:
Photoshop Color Settings (Edit → Color Settings)
Convert to Profile (Edit → Convert to Profile)
Adobe Camera Raw Preferences
Image Info / Embedded Profile (bottom left corner of image window in PS)
✅ Following these steps ensures your files are always in the correct sRGB color space for optimal print quality at Color Inc.


-
When exporting photos from Lightroom, select JPEG as the image format, sRGB as the color space and set the resolution to 300 pixels per inch.
If you plan to do additional edits in Photoshop after editing in Lightroom, be sure to have your External Editing preferences set.
To adjust this setting, go to the External Editing tab in preferences, and set Color Space to sRGB. Choose a bit depth of 8 bits/component and a resolution of 300. When saving your final edit in Photoshop, be sure to save as a JPEG.

-
To edit color settings in Photoshop, click "Edit" -> "Color Settings". Be sure to set "RGB Working Space" to "sRGB IEC61966-2.1". This will set Photoshop to work with files in sRGB. However, this alone does not convert your images to sRGB.
Photoshop can warn you when these settings are not correct, and correct them. In the same Color Setting dialog box locate the Color Management Policies section. Set RGB to “Convert to Working RGB”. Next find the check the boxes labeled "Profile Mismatches" and "Missing Profiles". Make sure the three boxes in this section are checked. This will display a warning anytime you are opening or pasting a non-sRGB image, and offer to convert it for you. You can opt to save these custom settings
Any individual images you are working with that need to be assigned sRGB, click "Edit" -> "Convert to Profile". Then select sRGB (from working profile, or the profile list) and click "Ok". Make sure to "Save As" over the current file.


-
In the initial Camera Raw window there is a color space option at the bottom of the window. Click that to bring up the Camera Raw Preferences window. Select sRGB and press OK. This should save this setting for future use but It’s a good idea to always check that it shows sRGB. Click through the gallery below to view screenshots.
3. Monitor Calibration
For professional photographers, maintaining a calibrated and profiled monitor is essential to attaining consistent and predictable color on all monitors. This user-friendly calibration kit is perfect for ensuring you with the most accurate monitor-to-print color accuracy! The i1Display Pro is the perfect combination of unrivaled color precision, speed and controls for the highest level of on-screen color accuracy.
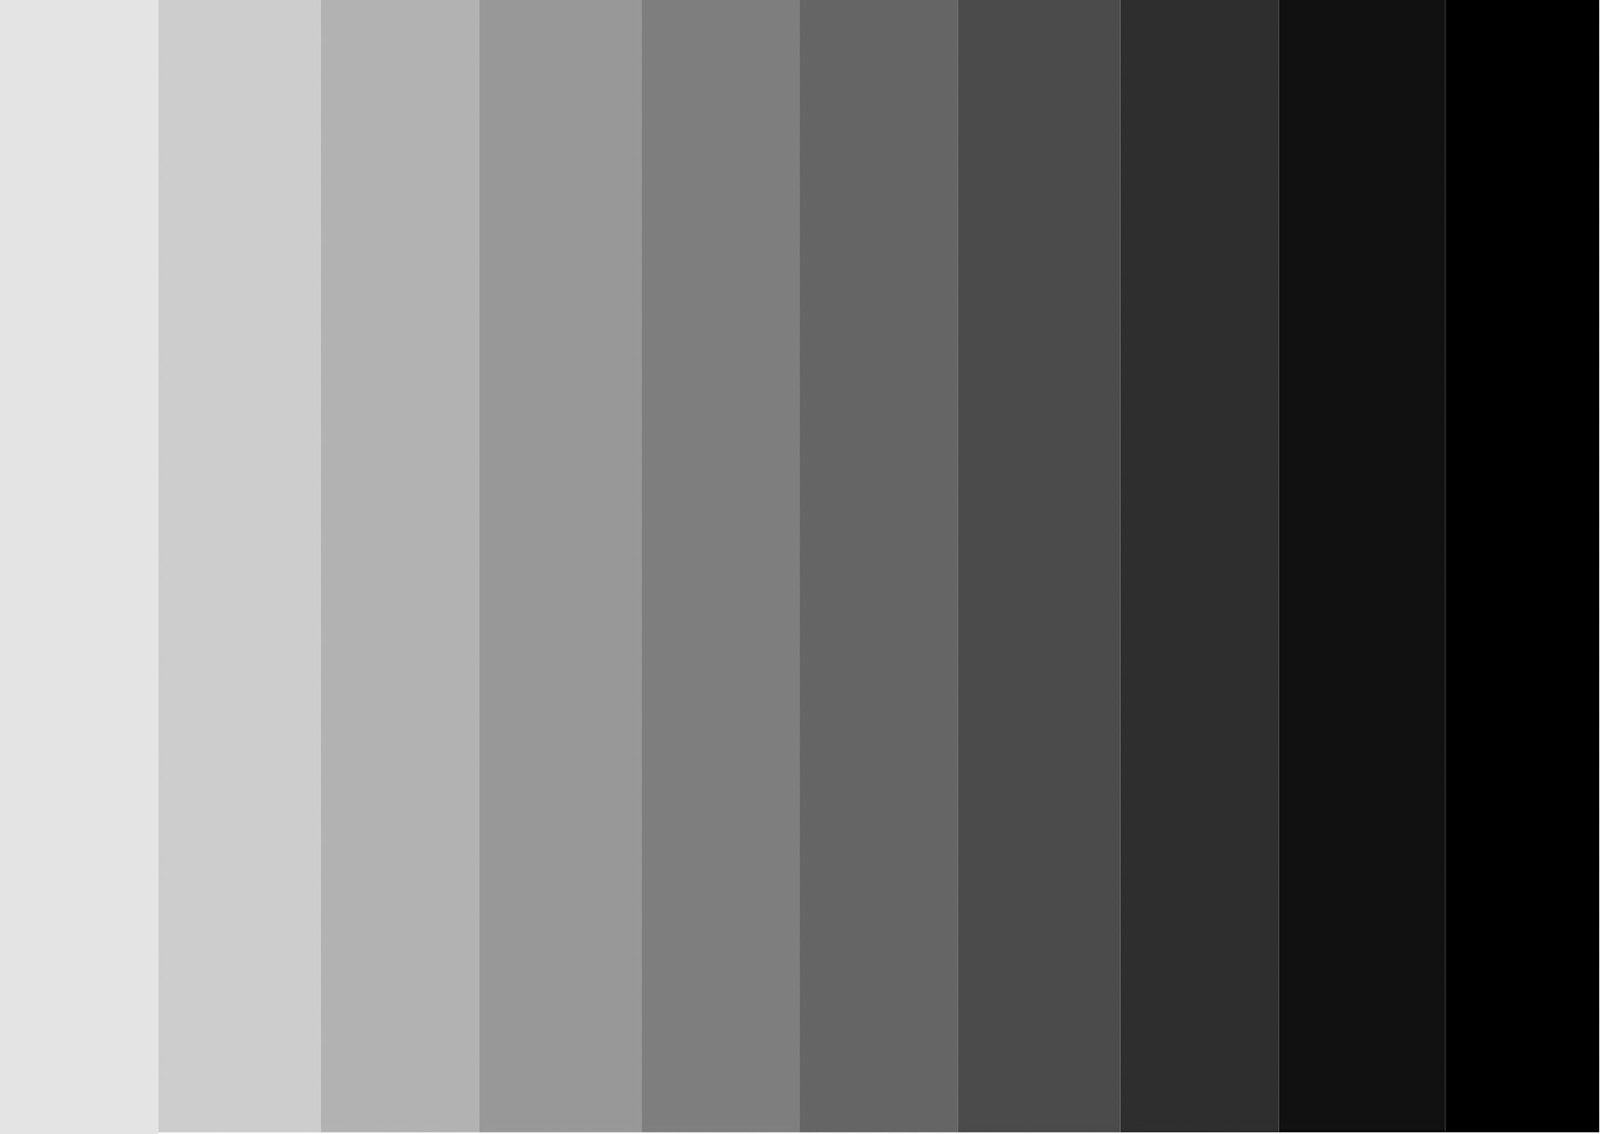
Match The Target Print To Your Display
Contact us for a hard copy of the target print.
View the target print in your editing software (Photoshop/Lightroom etc) to evaluate your monitors display compared to the print.
If necessary adjust your monitor settings manually or with monitor calibrating software.
4. Order Test Prints
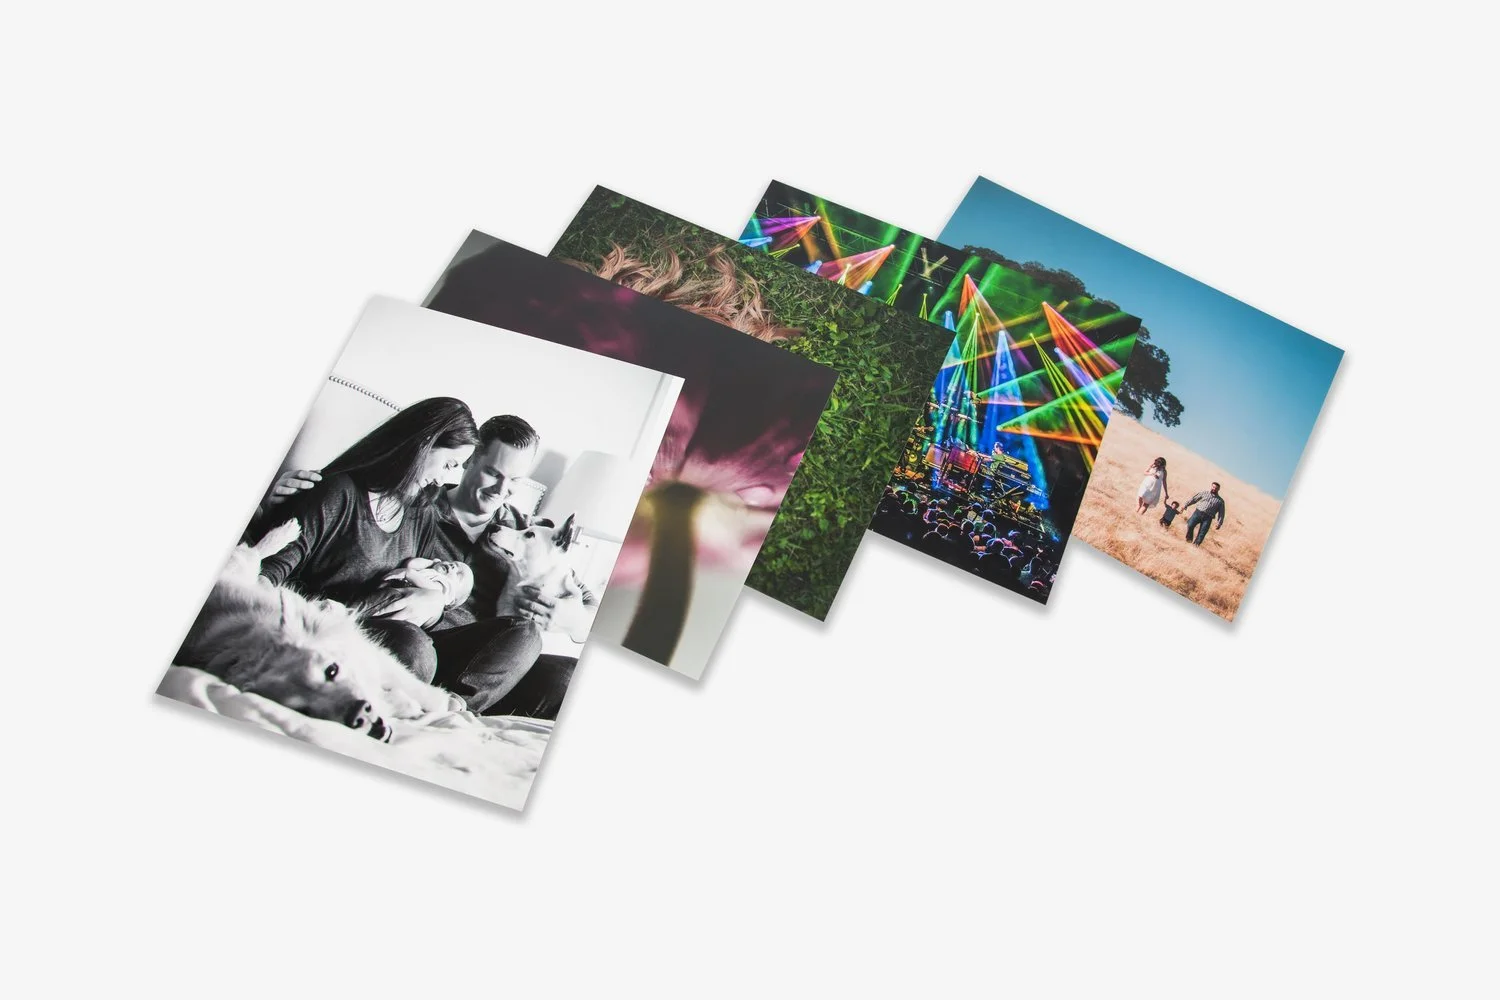
Before placing a complete order, we encourage all new customers to order test prints to ensure they are matched to our lab standards for color.
Compare the color and brightness on your screen to the color in the prints. If all the previous steps were done, your prints should look perfect.
Customers can send in 5 individual 8x10 prints to be printed and shipped for 5¢.